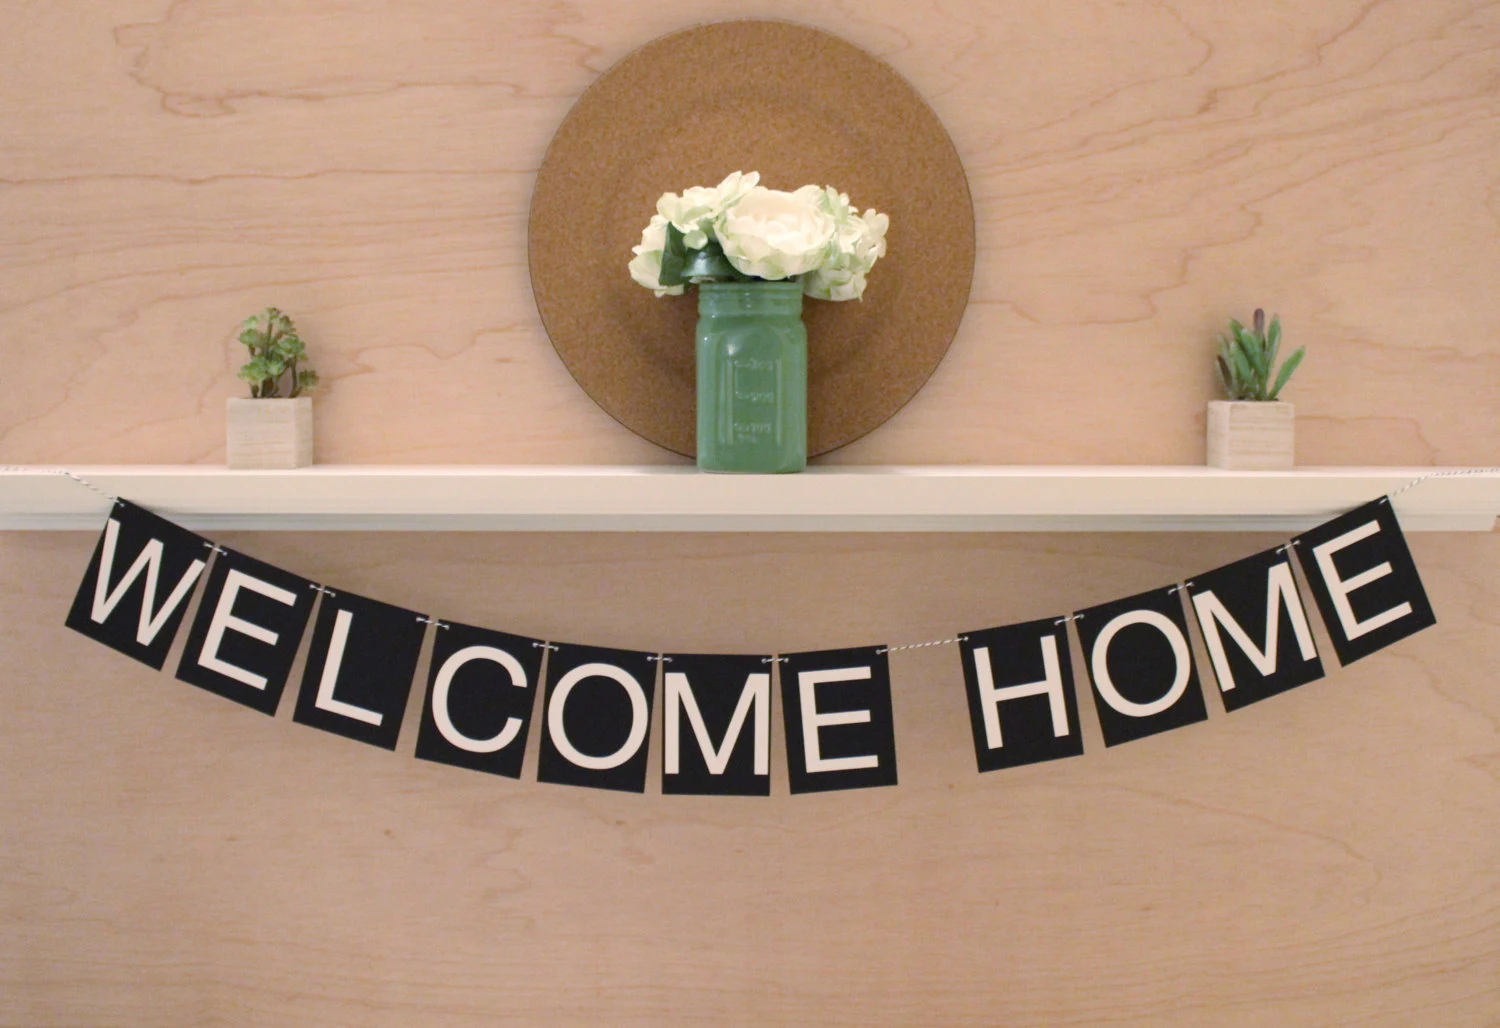
A personalized welcome banner is a great way to add a personal touch to your home. You can create a banner using any type of material you like, such as fabric, paper, or even recycled materials. The sky is the limit when it comes to design, so get creative!
Here are 15 tips on how to create a personalized welcome home banner:
1. Choose the right material.
The type of material you use will depend on the look you’re going for and where you’ll be hanging the banner. If you want a durable banner that can be hung outside, choose a sturdy fabric like canvas or denim. For a more delicate banner meant for indoor use, paper or fabric would work well.
2. Select a color scheme.
You can either match the banner to your home’s existing décor or choose colors that contrast with your home’s exterior for a more eye-catching look.
3. Gather your supplies.
In addition to the material and paint or other decorations, you’ll need scissors, a ruler or measuring tape, and something to hang the banner with (string, ribbon, etc.).
4. Cut out the shape of your banner.
If you’re using fabric, you can simply cut a rectangle or square. If you’re using paper, you may want to create a more elaborate shape, such as a pennant or flag.
5. Paint or decorate your banner.
Get creative with this step! You can use stencils, freehand designs, or even print out letters or images to glue onto the banner.
6. Add any embellishments.
This is the time to add any final touches, such as sequins, glitter, or beads.
7. Let the banner dry.
If you’re using paint or glue, be sure to let the banner dry completely before moving on to the next step.
8. Cut a slit in the top of the banner.
This will be where you thread the string or ribbon through to hang the banner.
9. Thread the string or ribbon through the banner.
10. Hang your banner!
Find the perfect spot to display your new creation, whether it’s in the entryway, on the porch, or in a window.
11. Enjoy your personalized welcome banner!
Now sit back and enjoy your handiwork. Your visitors are sure to appreciate the extra effort you put into making them feel welcome.
12. If you’re not satisfied with the results, start over!
Don’t be afraid to experiment until you get the look you want.
13. Get creative with the placement of your banner.
There’s no rule that says you have to hang the banner in one spot. Try hanging it in multiple locations for a fun, festive look.
14. Use seasonal banners to celebrate holidays or special occasions.
Welcome guests all year long with banners for every season and holiday.
15. Store your banners carefully when they’re not in use.
Fold them up and store them in a dry, dark place to prevent damage.
With these 15 tips, you’ll be on your way to creating a personalized welcome banner for your home in no time! So get creative and have fun!
FAQs:
1. What is the best material to use for a welcome banner?
The best material to use for a welcome banner depends on your personal preference and where you’ll be hanging the banner. If you want a durable banner that can be hung outside, choose a sturdy fabric like canvas or denim. For a more delicate banner meant for indoor use, paper or fabric would work well.
2. How can I add a personal touch to my welcome banner?
There are many ways to add a personal touch to your welcome banner. You can choose colors that match your home’s décor, add embellishments like sequins or glitter, or even include a personal message.
3. How do I hang my welcome banner?
You can hang your welcome banner with string, ribbon, or even fishing line. Simply cut a slit in the top of the banner and thread the string through. Then, find the perfect spot to display your banner and enjoy!
Conclusion:
There’s no right or wrong way to create a welcome banner for your home. Whether you want a simple banner made of paper or fabric, or something more elaborate with paint and embellishments, the sky’s the limit! Just be sure to have fun and get creative!
